How to fix a broken headband on Surface Headphones
The original surface headphones were released in 2019, the same year I was awarded a Microsoft MVP and to celebrate the fact I bought ones for my self when I visited the Microsoft Campus in Seattle in March 2019.
They’ve worked without any issue for almost 4 years until the day the headband broke in half without a previous warning. Since the headphones had sentimental value and despite being broken into 2 pieces were still working, I’ve looked for a solution to fix them.

The first place I looked into was Microsoft, I had purchased the ear pads from them before, so I’ve checked if they sell other parts as well. Had no luck and so had to continue to search for a solution that could make the headset functional again and still make it look original.
Apparently the first edition of the Surface Headphones has a flaw in the headband design which make it break and I was not the first one experiencing it, and thankfully there were already 3D models ready to be printed to fix this issue.
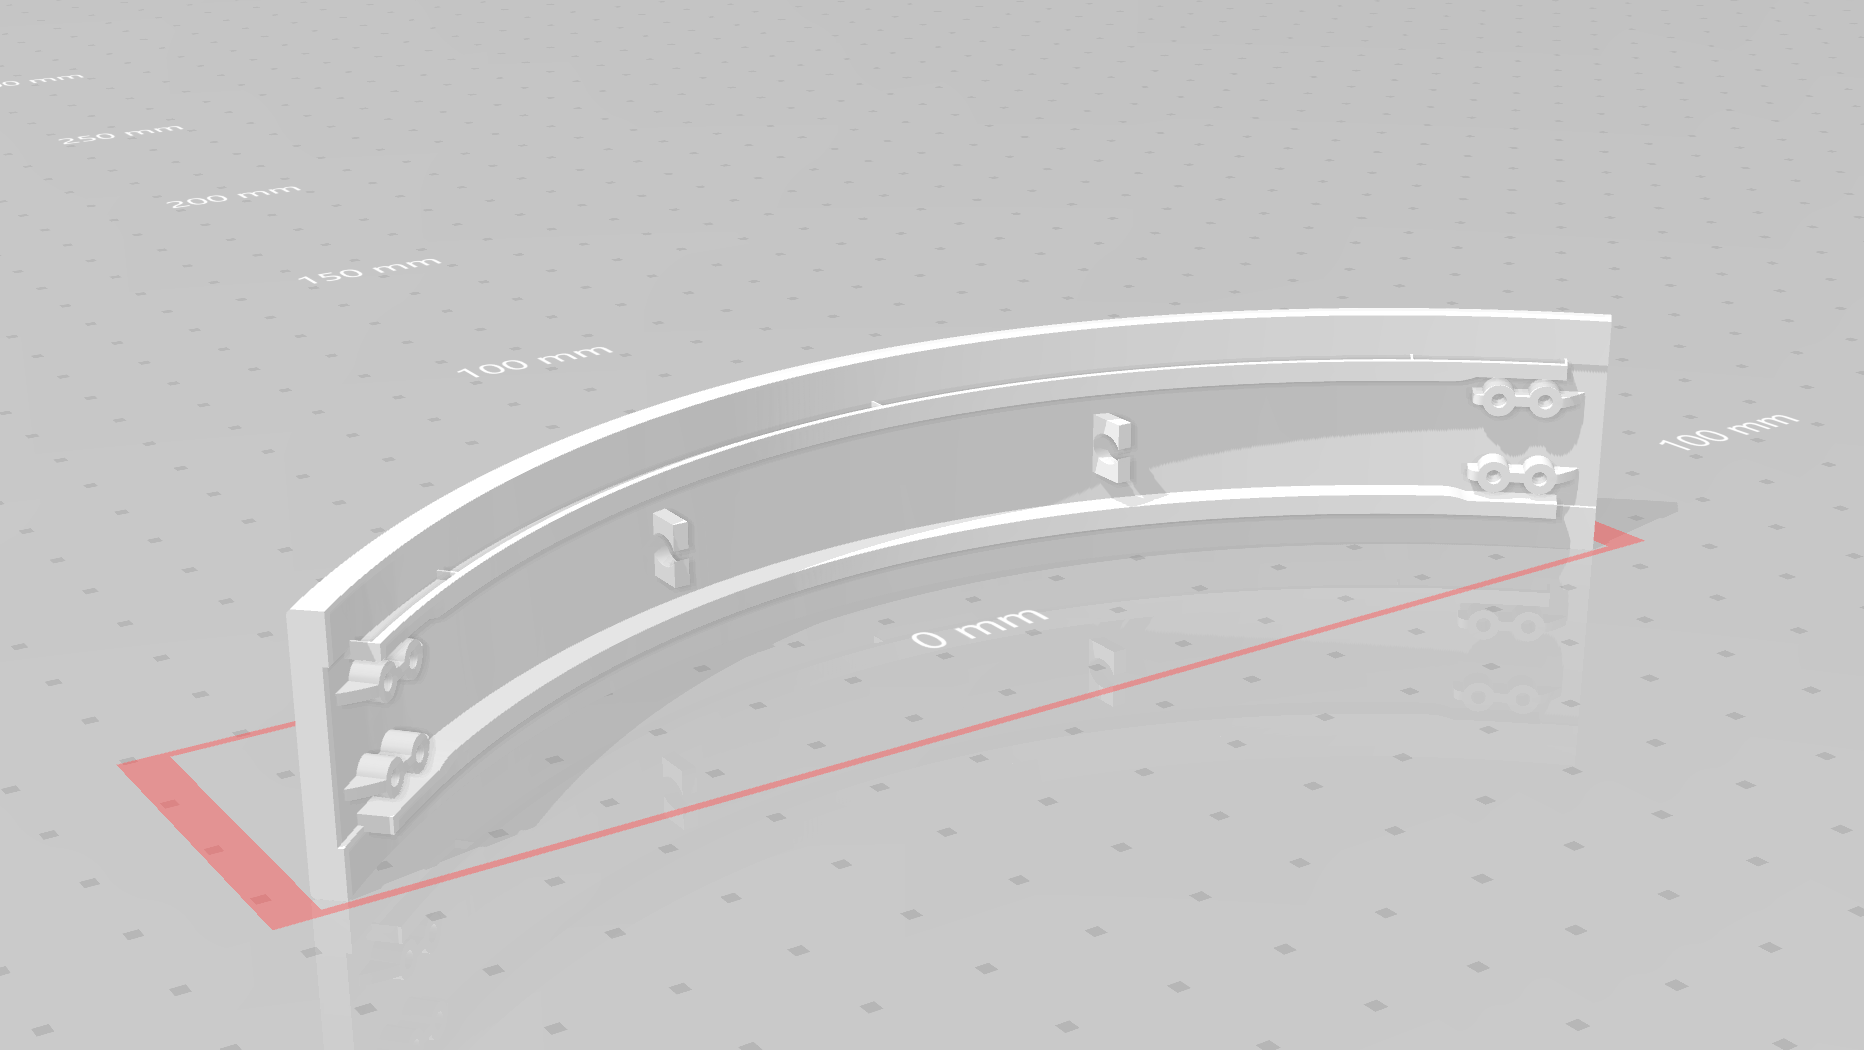
How to 3D print the Surface Headphones headband
The model I used is available in the Thingsverse website here, and it is an almost perfect fit to the Surface Headphones.

As I don-t own a 3D printer, I used an online service available in Portugal to get it printed with the following definitions:
- Nozzle: 2mm
- Infill: 20%
- Material: PETG- Transparent
- Color: Transparent
How to replace the Surface Headphones headband
Replacing the headphones headband is not an easy process I recommend you read the instructions below first and do it carefully to prevent causing more damage to the device.
With the headphones in a flat surface do the following:
- Start by losing the cushion rubber from the headband, it is hold in place with double sided tape so you should be able to easily separate it in the center.
⚠️ IMPORTANT – don’t force it in the edges - Remove the sponge from the black support, this is glued in the edges, but it should get free with a gentle push

- With a small screwdriver or using a credit card release the black pieces in the edges of the band, be careful to not damage the cushion rubber as it is connected to the black parts with two small clips

- Remove the 8 screws (4 in the left, 4 in the right). It requires a T6 screwdriver

- Remove all the black central pieces, they might be broken as this is the part that fails and makes the headphones break in half; I recommend you to order them to install back in the same position even if there will be small bits missing
- Loose the cable connecting both sides of the headphones
- Screw the new 3D printed band to the headphones

- Hold the cable between the clips keeping the original wave format
- Add all the black pieces in the same order to the band, start from the middle and finish with the edge sides connected to the rubber band

- Glue the sponge back in place
- Cut two thin strips of double-sided tape to keep the rubber connected to the band
In the picture bellow you can see the result of my refurbished Surface Headphones, hopefully ready to be used for a few years more.

Conclusion
The process of replacing the headband is not straight forward but even doing it carefully for the first time and taking photos to document it, I was able to it in 30 minutes. The best part is that I’ve spent just 8€ to get it printed and shipped home.
I’ve been using them daily with the new band since August and they are holding just fine! 😀


 HANDS ON tek
 M365 Admin


December 17, 2022
Thank you. It worked
December 17, 2022
Forgot to say it took me about a hour and a half, because the print wasn’t perfect and I had to fix it myself, but after that PETG seem to be even stronger than the original. Too bad Microsoft made such a fault on these.
February 5, 2023
I’m glad it worked for you
December 27, 2022
Hello
I would like to order one replacement band for Microsoft Headphones.
If I send you money by PayPal could you please make one for me?
I saw the website where you printed one for you but I don’t speak Portuguese.
Best regards
Lukas
February 5, 2023
Hi Lukas,
Send me an email and we can discuss it.
Have a nice day
July 17, 2023
Maybe worth mentioning these are not normal philips screws and you will need the appropriate screwdriver. Until I have it, I can’t proceed
January 29, 2024
Thanks Paul,
I’ll update the article with the screwdriver number.
Have a nice day 🙂
July 25, 2023
Hi,
What size screwdriver is required to remove the screws in step 4?
Thanks
January 29, 2024
Hi Matt,
It’s a T6.
Have a nice day 🙂
October 28, 2023
Thanks so much for this, was able to fix mine.
December 22, 2023
Do you remember which size Torx screwdriver is required for the screws. Need to order a set to complete this fix. Thanks.
January 29, 2024
Hi Tom,
It is a T6!
Have a nice day 🙂