

 HANDS ON SharePoint
 HANDS ON Teams
 HANDS ON Lists
 HANDS ON tek
 M365 Admin
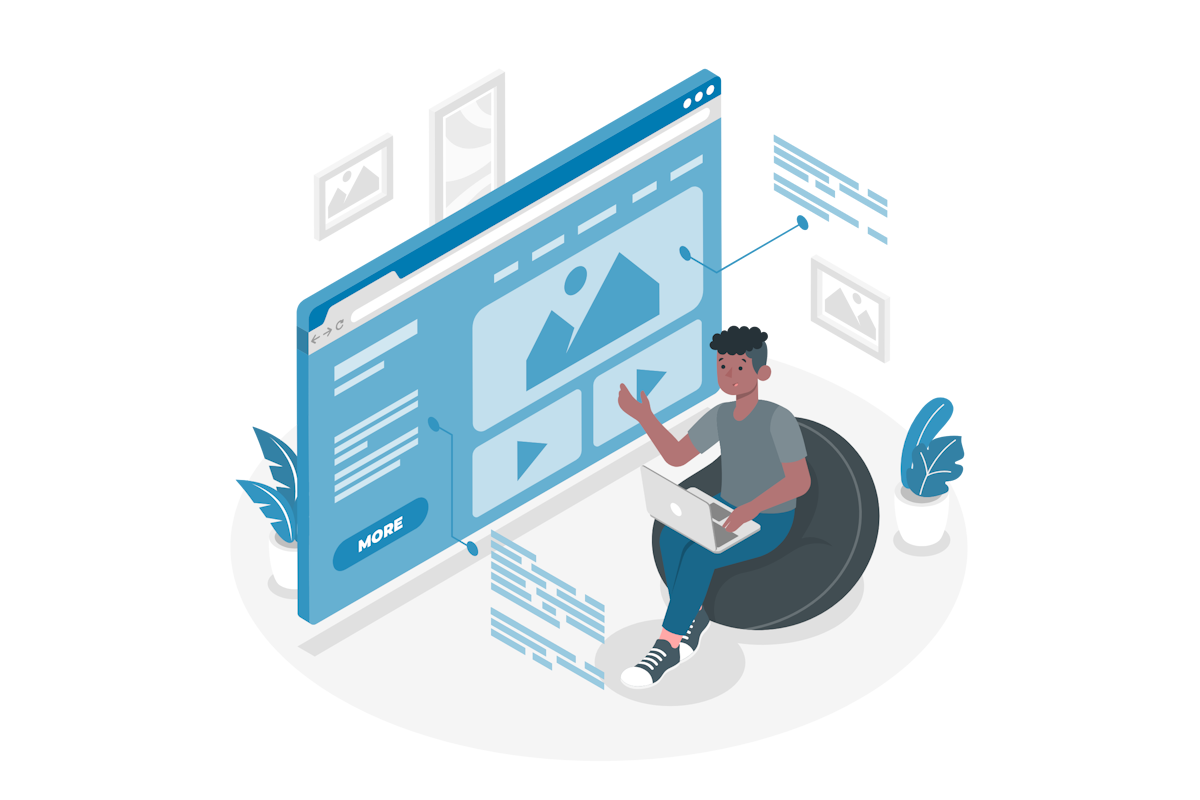
How to take a full page screenshot using Microsoft Edge
Have you ever wanted to capture the entire content of a web page, not just the visible part? Or maybe you need to crop a specific area of the site for your presentation or report? If you are using Microsoft Edge as your browser, you can do both of these tasks easily with a built-in feature that lets you take screenshots of web pages.
How to use the screenshot feature
To use the screenshot feature, you need to press CTRL + SHIFT + S on Windows or COMMAND + SHIFT + S on Mac OS. This will open a toolbar at the top of the page, where you can choose between two options: Capture region and Capture full screen.

If you select Capture region, you can drag your mouse cursor to select the area of the page that you want to capture. You can also adjust the size and position of the selection by dragging the edges or corners. Once you are happy with your selection, click on the Copy to save the screenshot to your clipboard. You can then paste it into any application that supports images, such as Word, PowerPoint, Paint, etc.
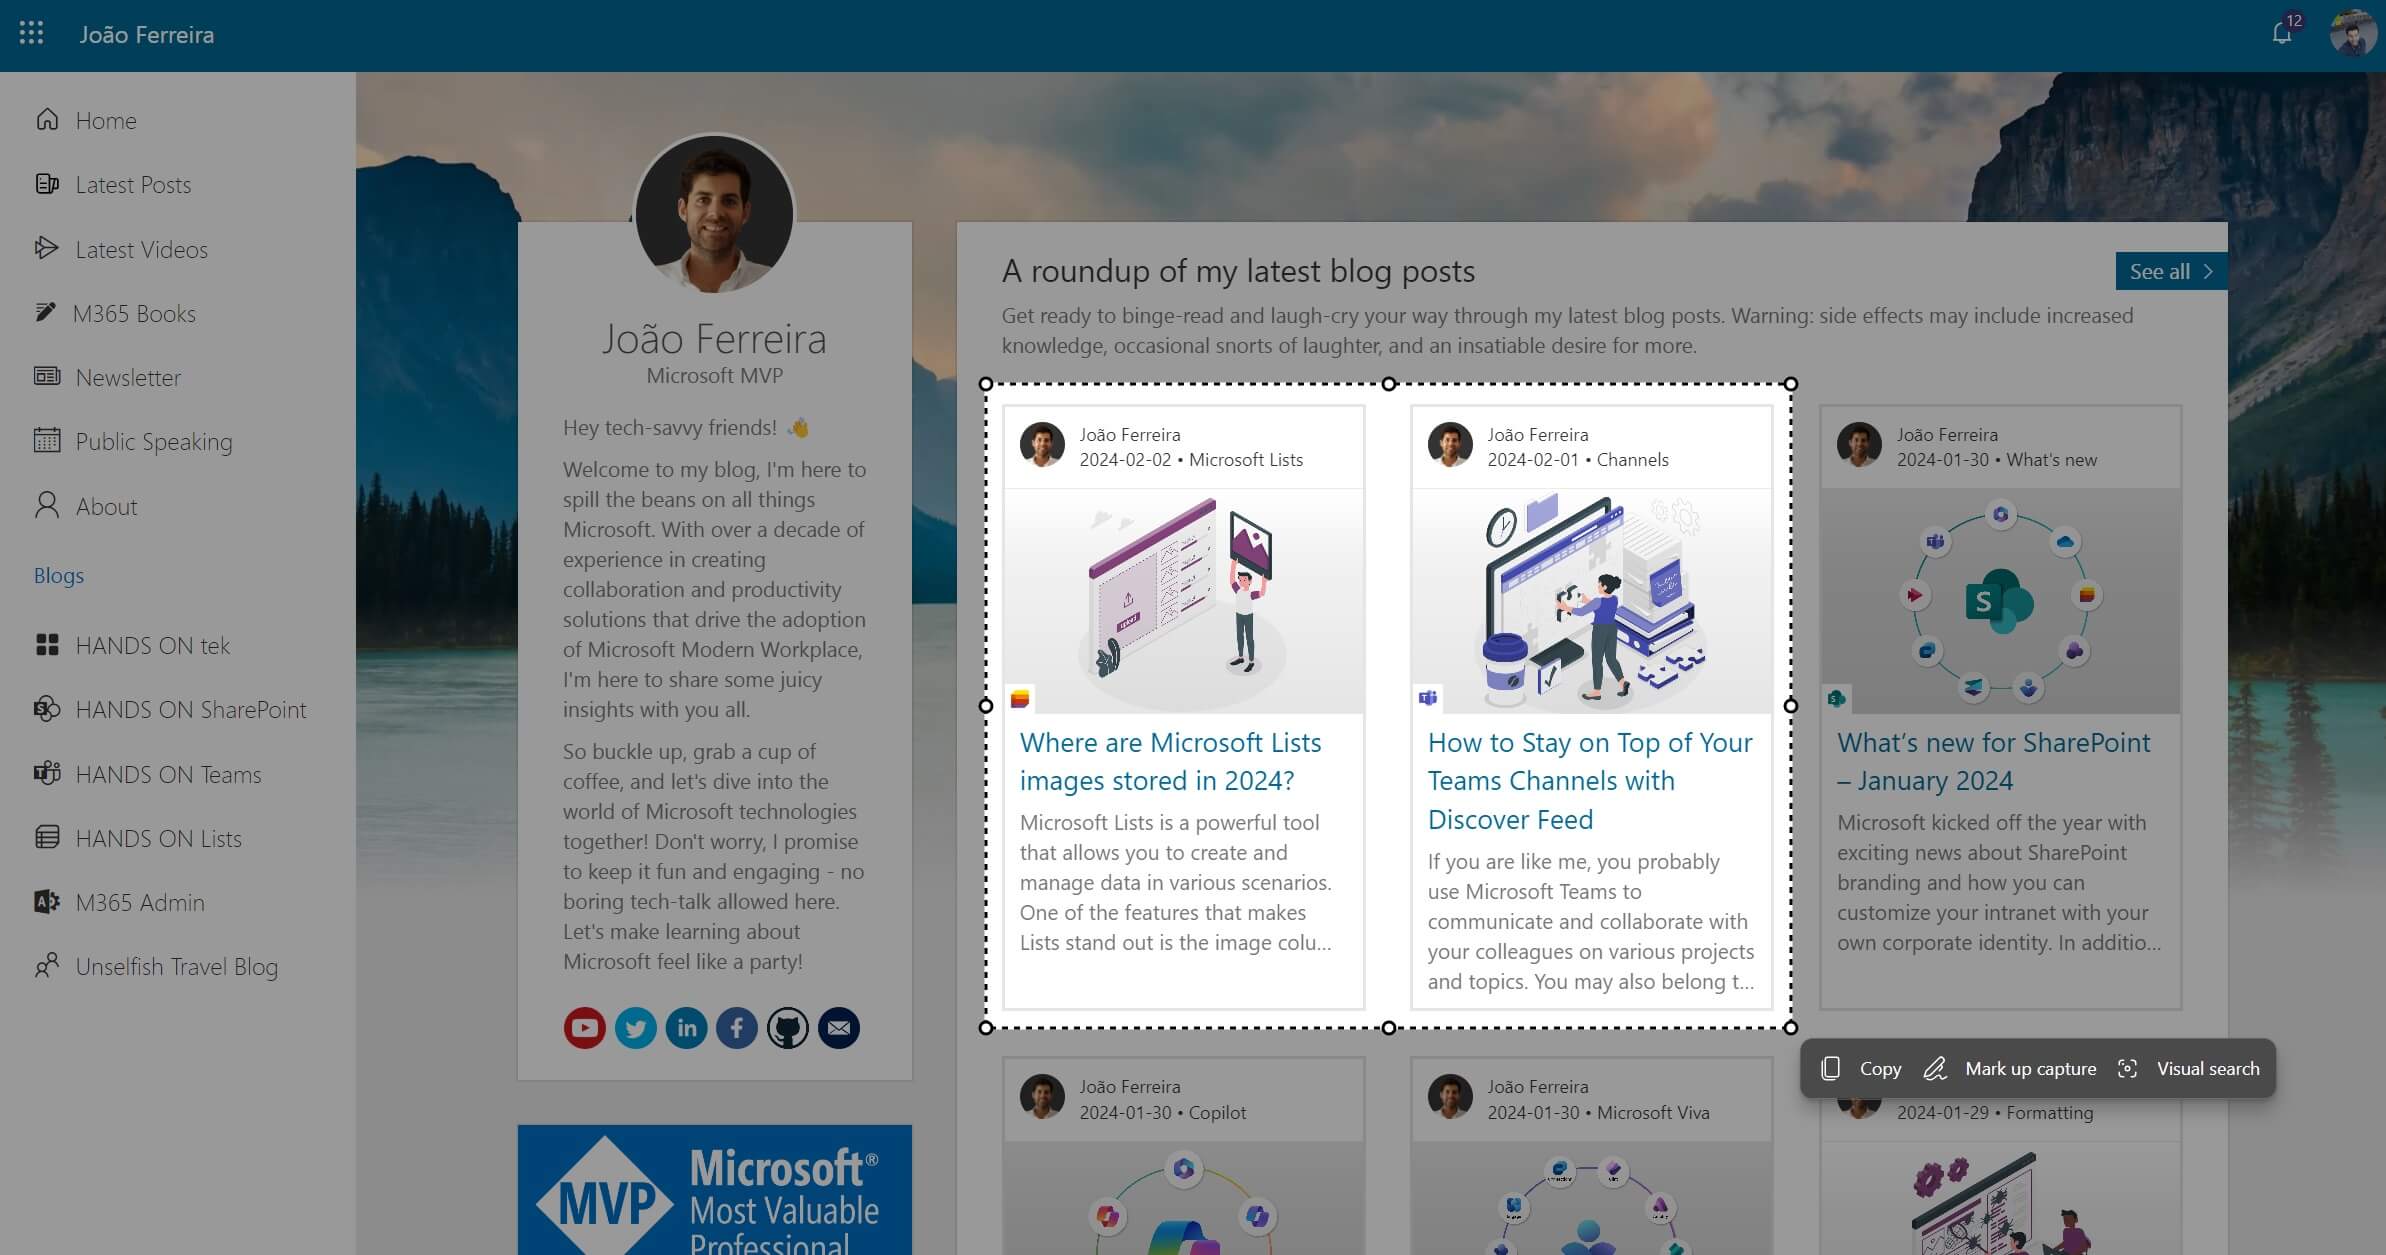
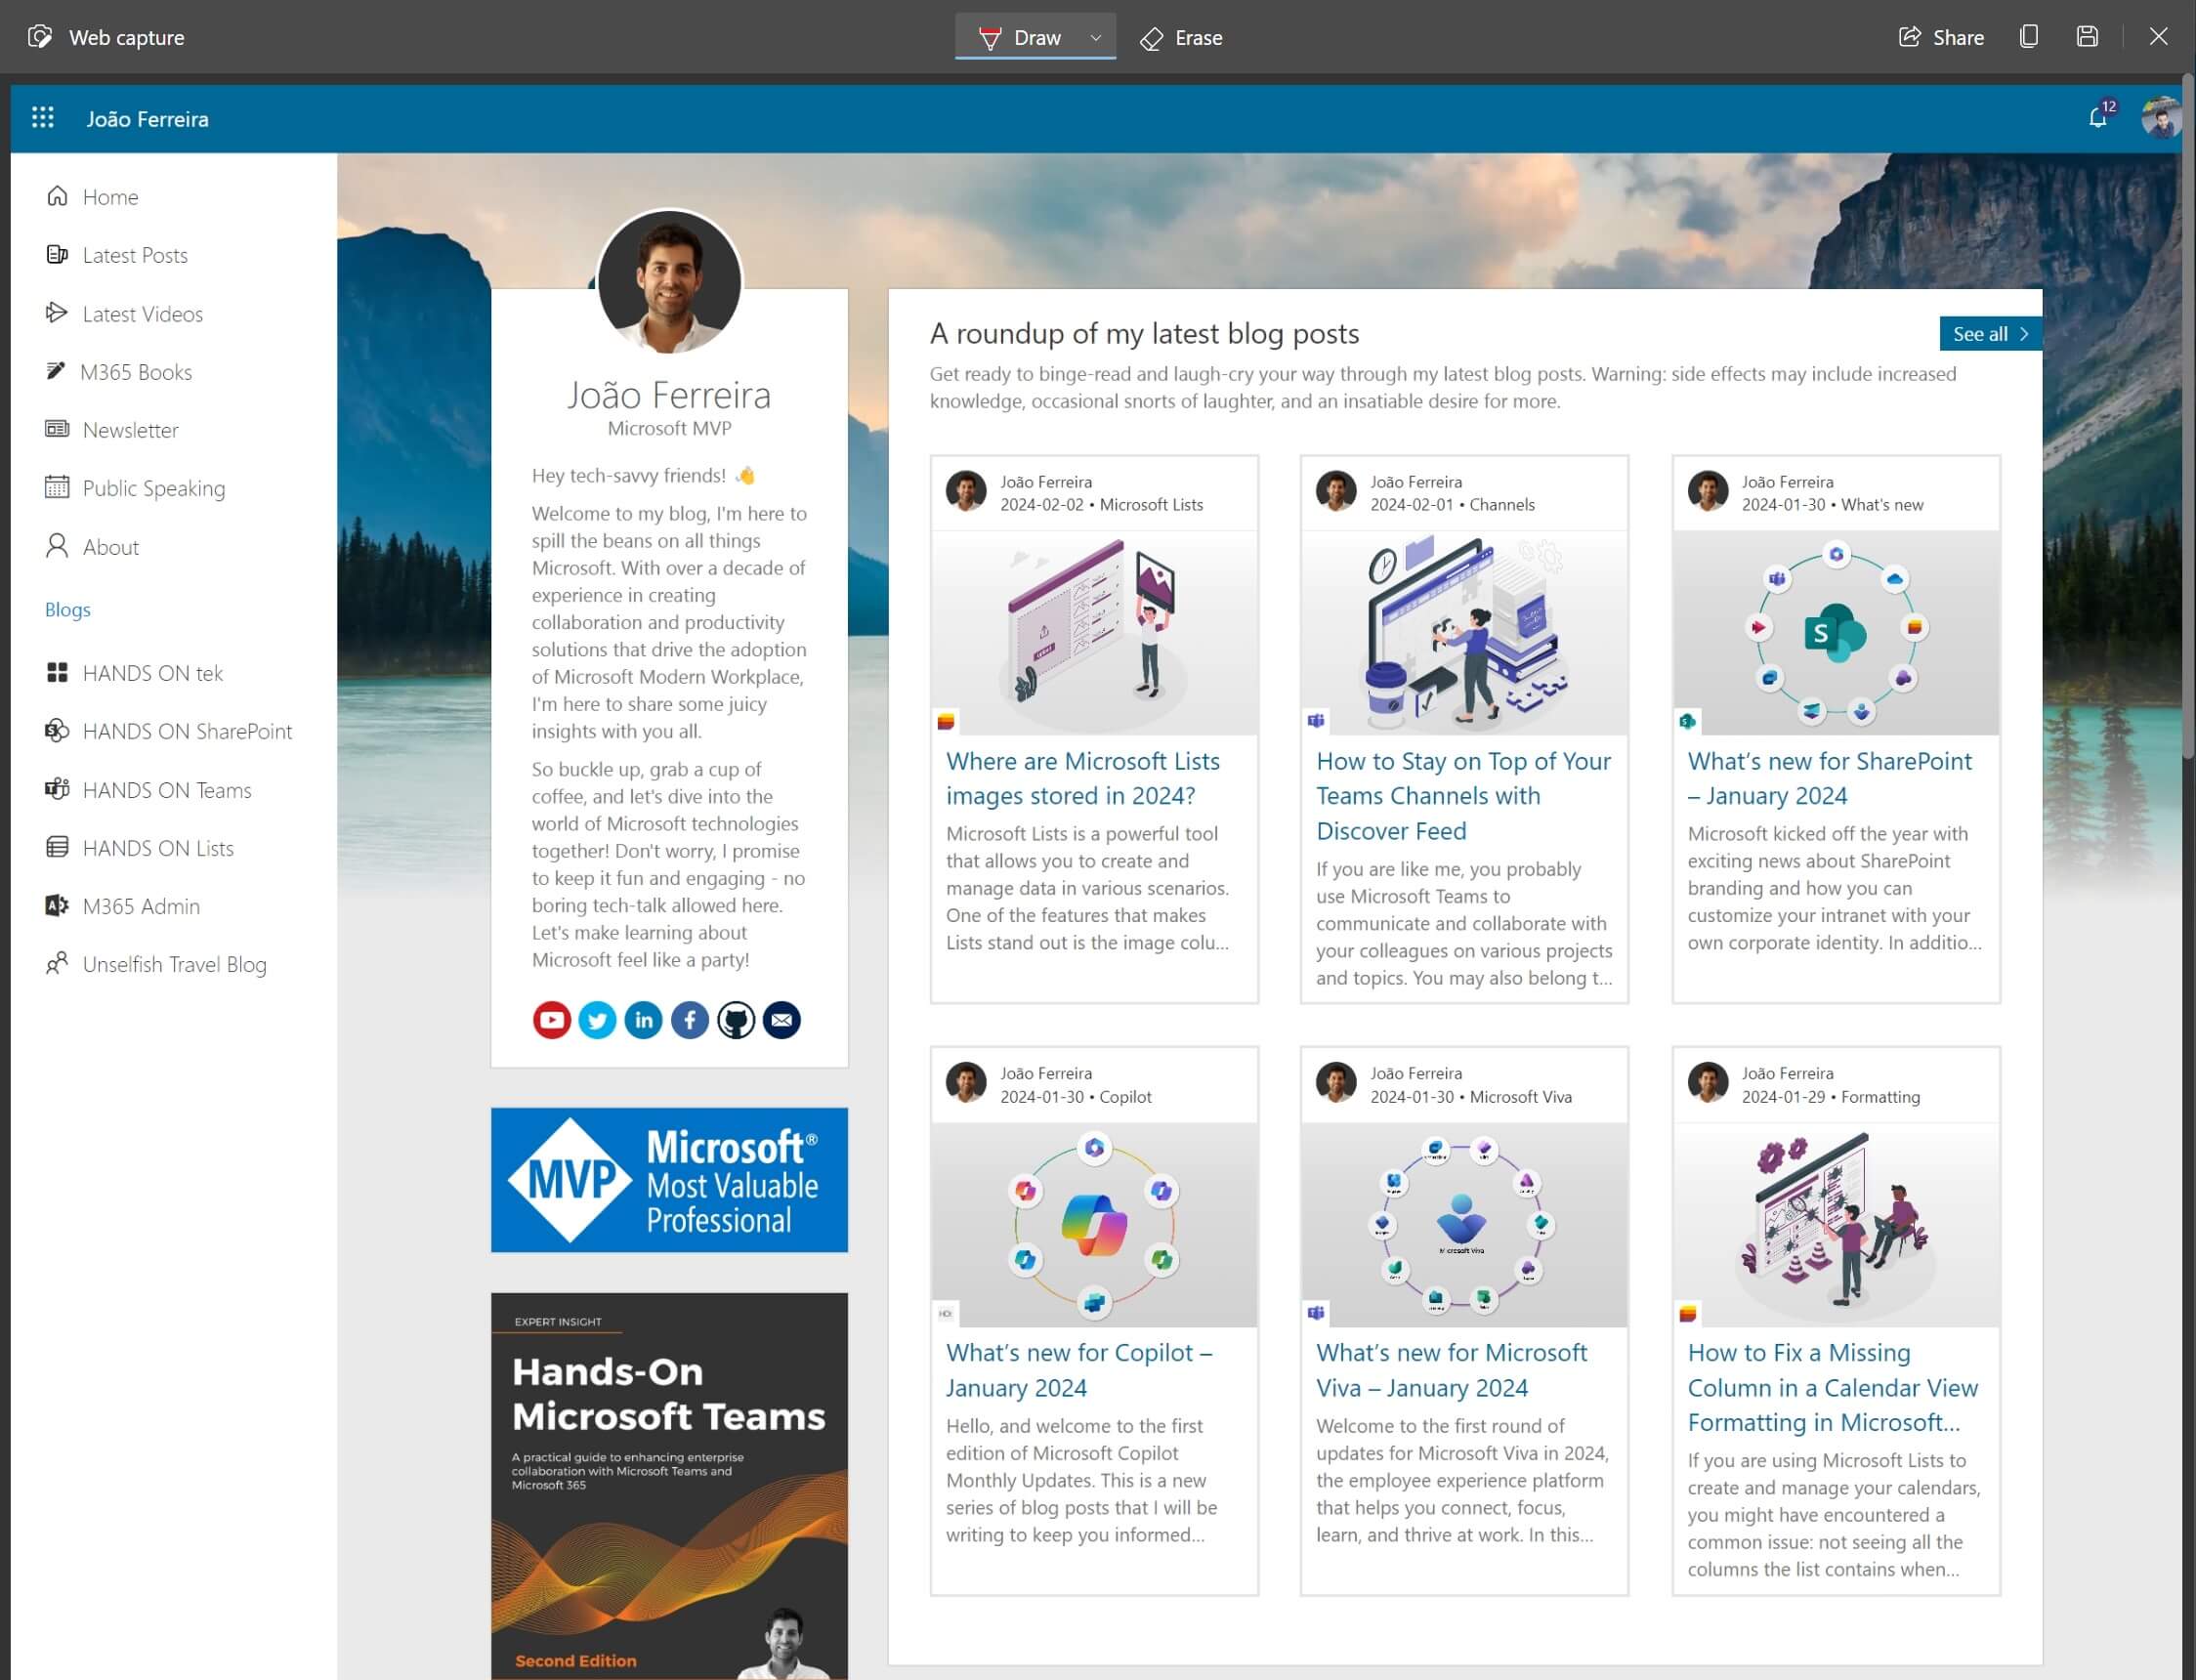
If you select Capture full page, you can capture the entire content of the page, including the parts that are not visible on your screen. This is useful for long or complex web pages that have a lot of information. After you click on the Capture button, the screenshot will open in the image editor. You can then copy or save it to your computer.
Benefits of the screenshot feature
The screenshot feature in Microsoft Edge has several benefits over other methods of capturing web pages, such as:
- It is fast and easy to use, without the need to install any external add-ons or extensions to your browser.
- It allows you to capture both the visible and the hidden parts of the web page, which can be helpful for documenting or sharing the full content of the page.
- It gives you the flexibility to crop a specific area of the page, which can be useful for highlighting or focusing on a particular element of the page.
- It preserves the quality and resolution of the web page, which can be important for printing or displaying the screenshot.
Limitations of the screenshot feature
The screenshot feature in Microsoft Edge is not perfect, and it has some limitations that you should be aware of, such as:
- The full page screenshot only works when the scroll is positioned in the body of the page. If you are trying to capture a web page that has the scroll in other elements, such as a sidebar or a frame, the screenshot will not capture the full content of the page.
- It does not capture the dynamic or interactive elements of the web page, such as videos, animations, pop-ups, etc. If you want to capture these elements, you will need to use other tools, such as screen recording software or video capture software.
- It does not capture the URL or the title of the web page, which can be useful for referencing or citing the source of the screenshot. If you want to include these details, you will need to manually copy and paste them from the browser.
Conclusion
The screenshot feature in Microsoft Edge is a handy tool that lets you capture the entire content or a specific region of a web page. It has many benefits over other methods of capturing web pages, such as speed, ease of use, flexibility, and quality. However, it also has some limitations, such as the scroll position, the dynamic elements, and the URL and title of the web page. By knowing how to use the screenshot feature and its advantages and disadvantages, you can make the most of it for your needs.


No comments yet